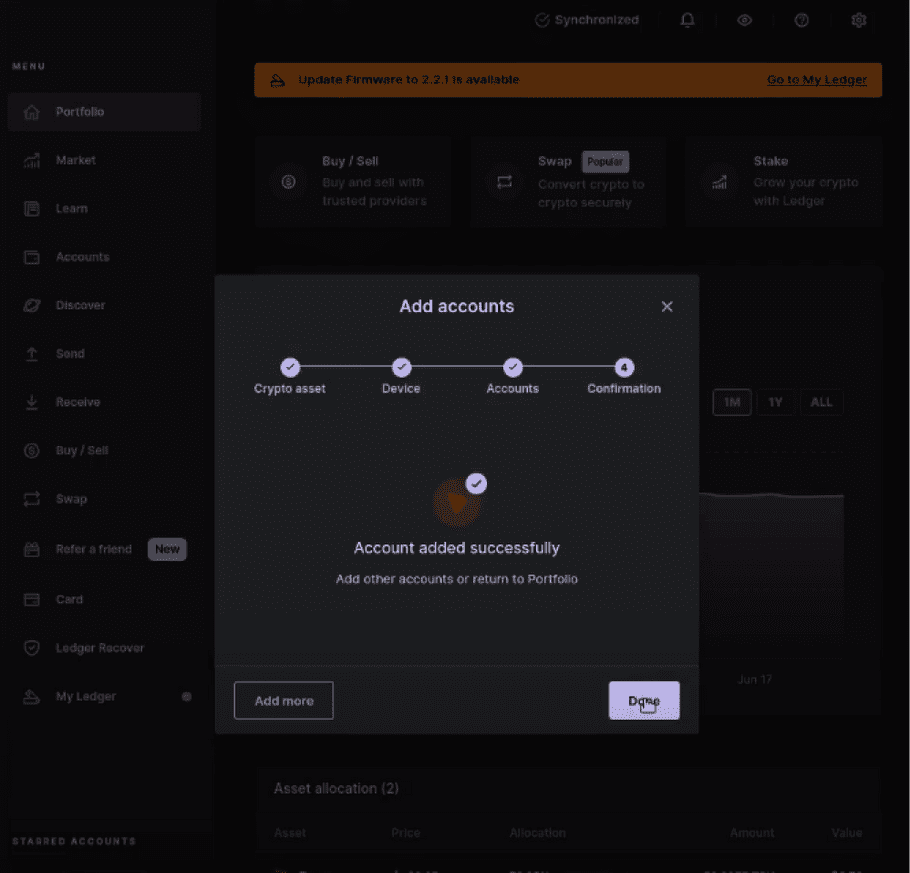
Connect your Signer account to the Ledger Live extension
Overview
- In the workspace settings, you will be able to connect your signer account to the Ledger Live which will be used similar to an extension, in order to craft a transaction via Ledger Live and then sign it with your PSD on the Vault.
- The Vault Signer feature is available on Tron (including TRC20 tokens), Cosmos and Near accounts with the Ledger Live application functioning as an external wallet.
Before you start
- You need to have a Vault Signer account created: Create a Signer account .
- Your Personal Security Device must be connected to your computer, switched on, and the Ledger Vault app opened.
Instructions
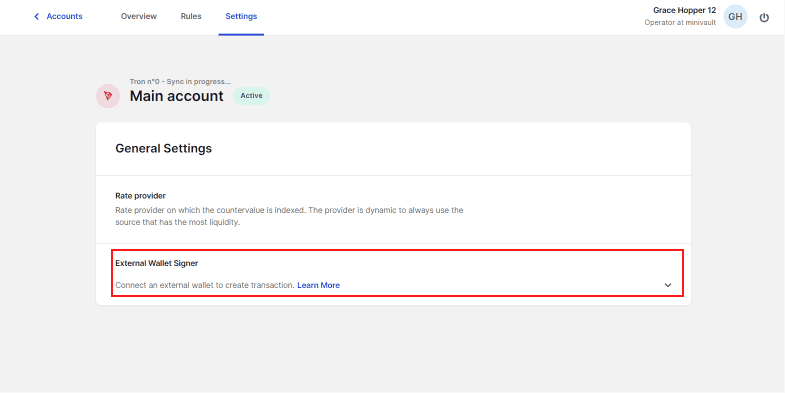
Step 1. Access the external wallet configuration in the account settings as an operator
- Click on the account you want to connect to Ledger Live.
- Click Settings in the tabs.

- Click on the External wallet signer section.
Step 2. Pair your workspace with Ledger Live
- Open Ledger Live (please refer to your TAM to download the right app version).
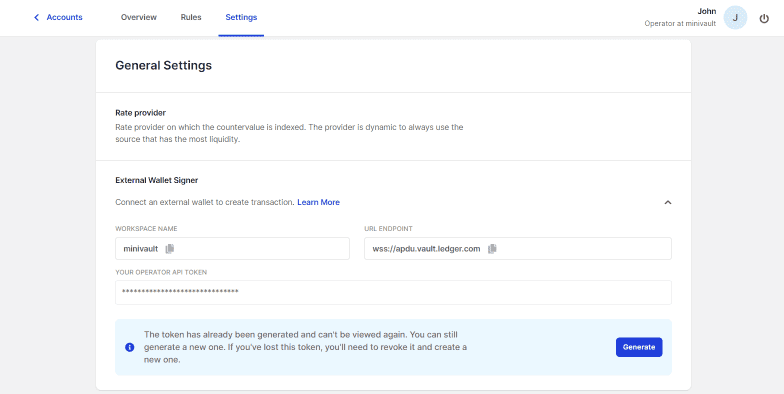
- You will see three fields to copy in order to connect the Vault workspace to the Ledger Live: the workspace name, the URL endpoint, and the API token. Click Generate in order to create the API token. Once you've generated your token your screen should look like this:
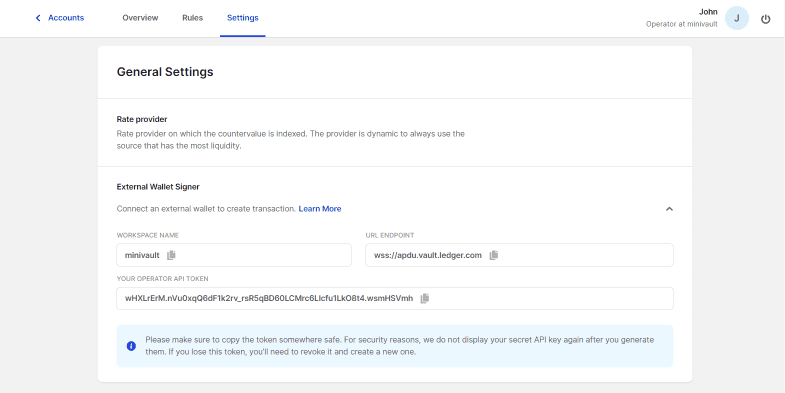
The token is singular to every operator. Once it has been generated it applies to all the accounts that a given operator has access to. For example, if Operator Carlos Hernandez generates an API token, it will apply to all the accounts he has access to. Another operator will generate a different token on their side. This token ensures that each operator will only be able to import the accounts that they have access to into an external wallet.
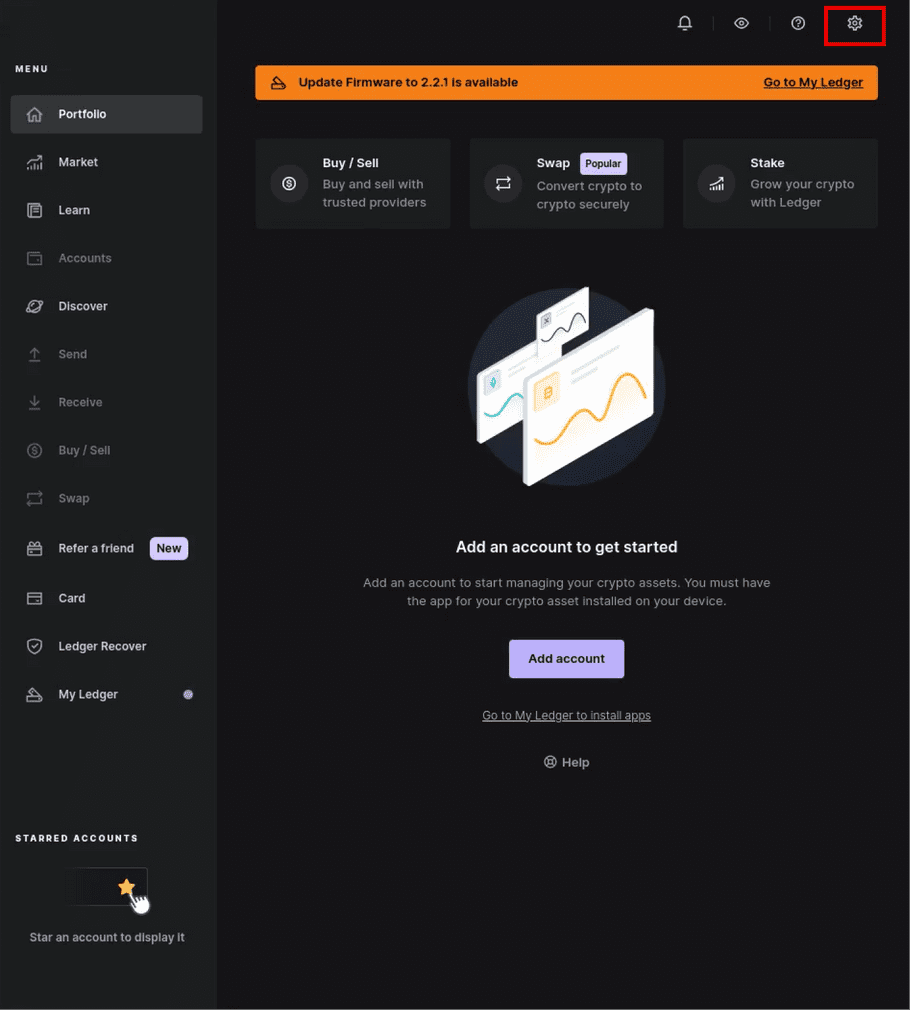
- Open Ledger Live and click on the "Settings" icon in the top right corner.
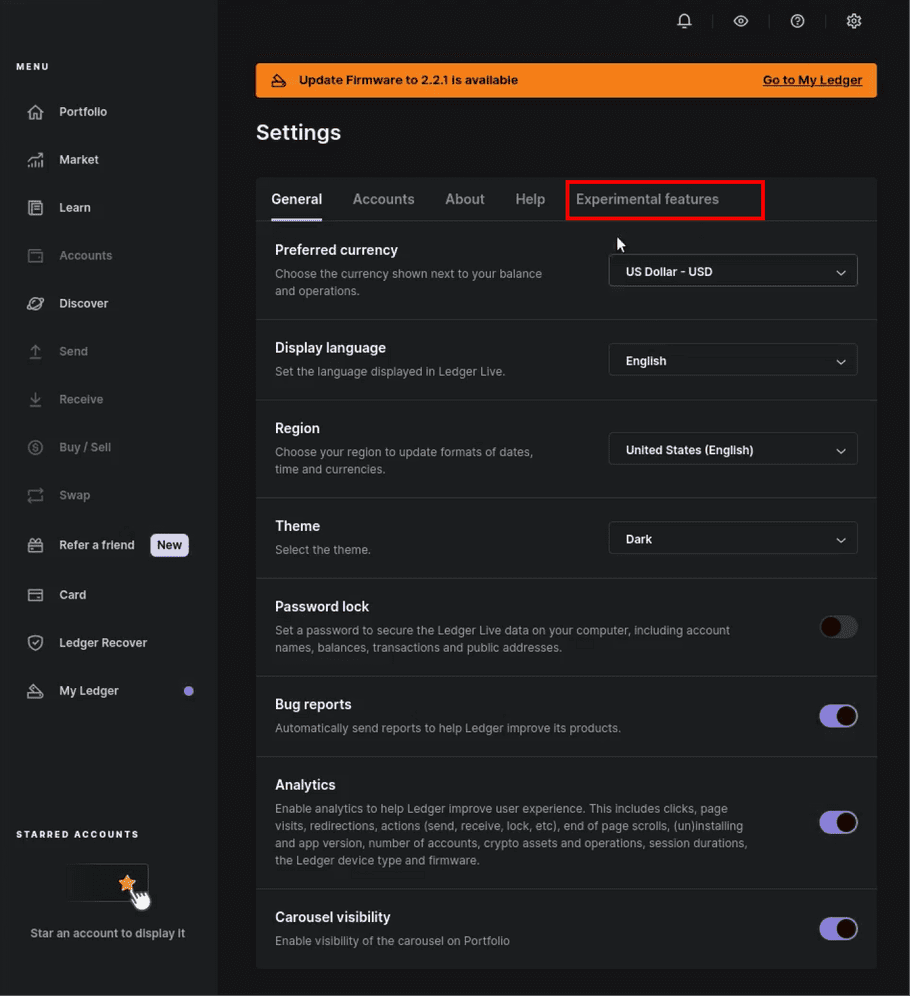
- Then click on Experimental features tab
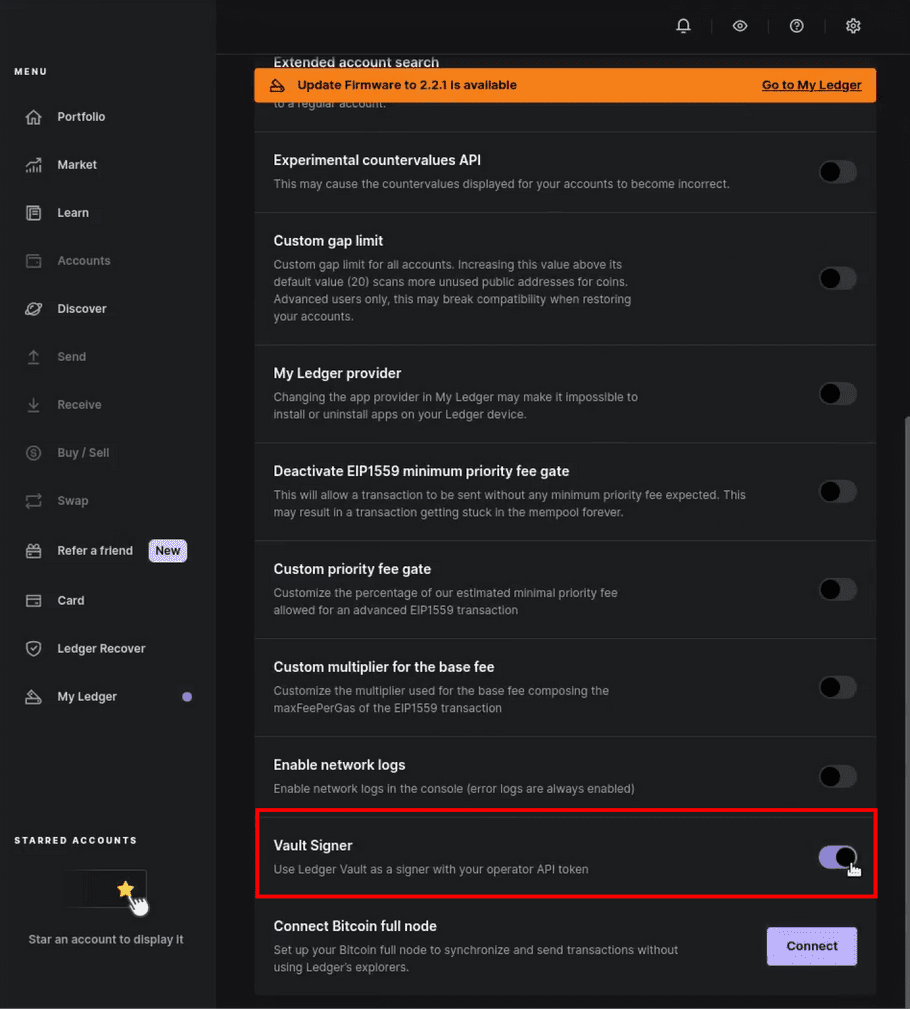
- Scroll down to find the Vault Signer section and enable the feature.
- A modal will pop up which will invite you to copy-paste the information from the 3 fields displayed on the Vault page.
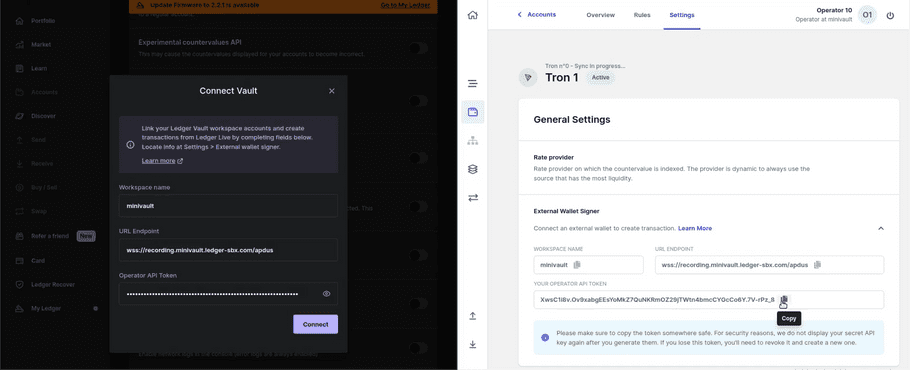
- Once you've copy-pasted all information, click Connect .
Success! You've now established a connection between the Vault workspace and Ledger Live. This will allow you to import accounts to see them in the Ledger Live and then craft a transaction.
Step 3. Import the account into Ledger Live
- In Ledger Live, go to the Portfolio page.
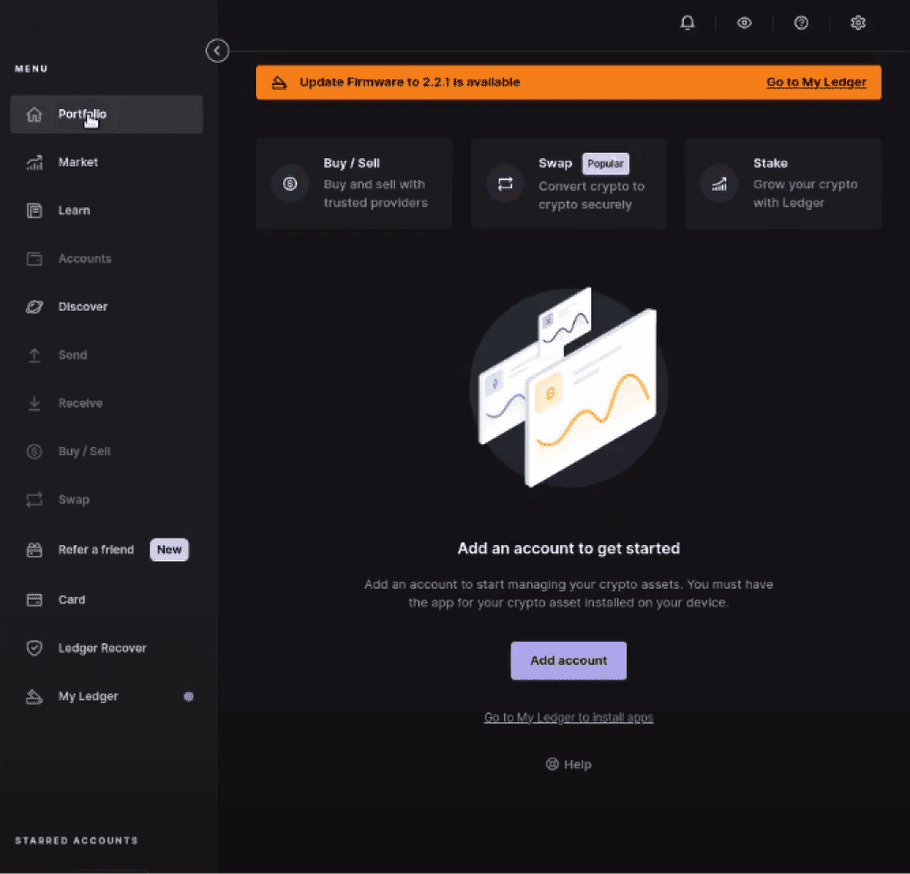
- Click on Add account
- A modal will open. Choose the cryptocurrency of the account you wish to import.
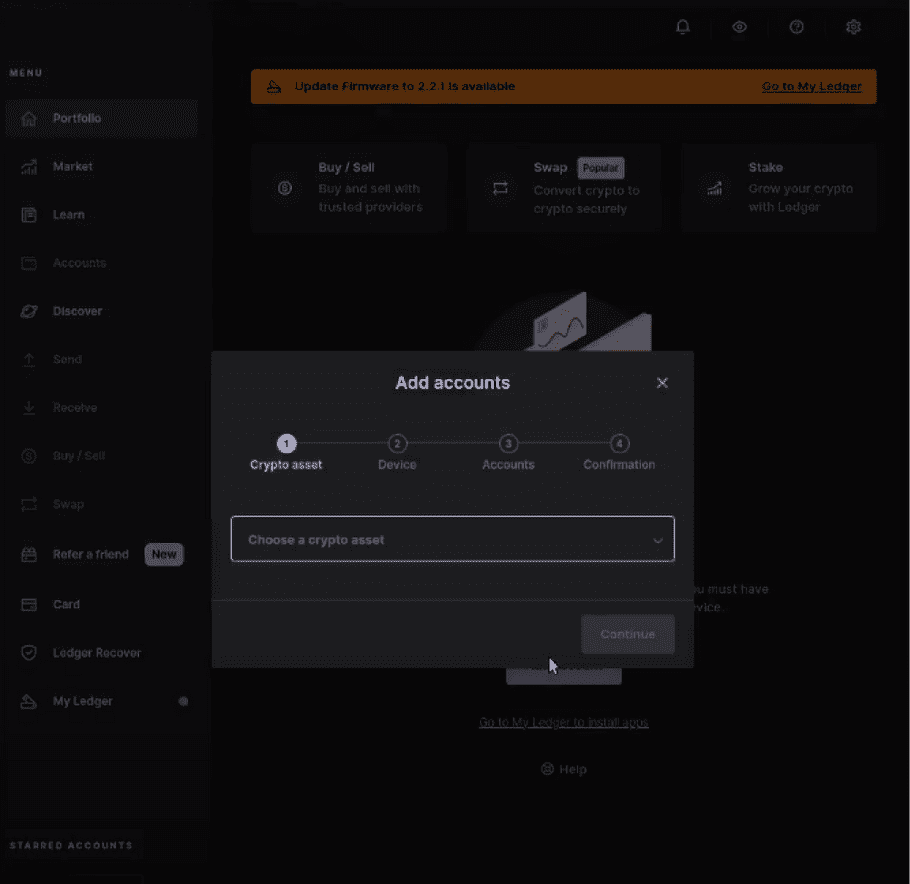
- The second step asking to connect the device will automatically skip, as the connection has already been made through the settings of the Ledger Live in Step 2: Pair your workspace with Ledger Live .
- The third step will show a synchronization of accounts.
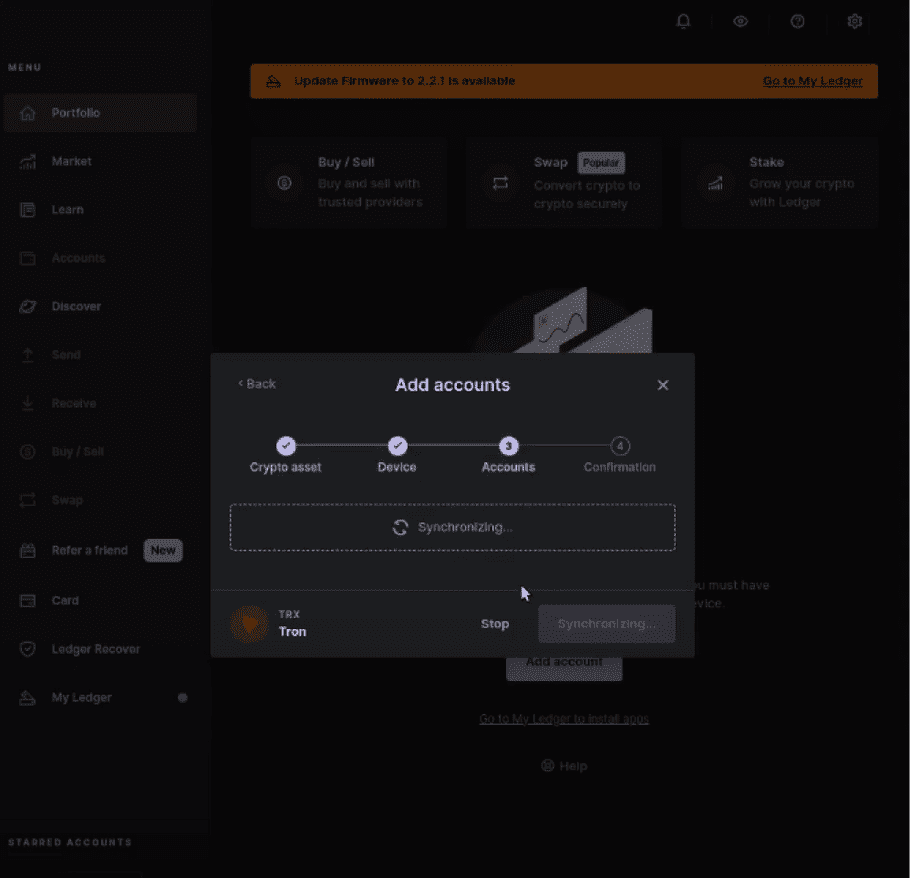
Once you are satisfied with the accounts displayed, click Stop to import those accounts and proceed to the final confirmation step. You can use the checklist to import the accounts you want.
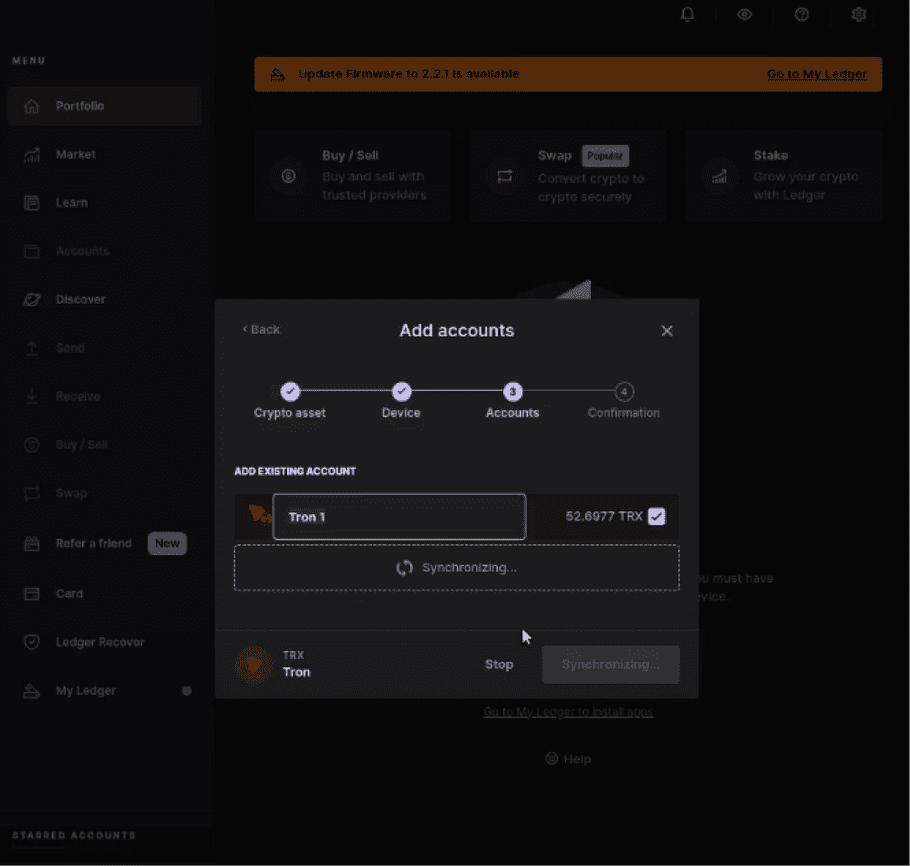
- The last step shows a succesfull import.
